Hot Process Soap Stages, From Trace to Vaseline
Published How we research

Hot process soap moves through six recognizable stages in the slow cooker: trace, bubbling edges that fold inward, separation, a grainy applesauce look, fluffy mashed potatoes, and finally a glossy, translucent paste that makers call the vaseline stage. The cook is done when the whole batch looks like that last stage with no opaque or wet patches left, which often takes about an hour on low and can run anywhere from roughly 45 minutes to 2 hours depending on the cooker and the batch size. Stage names vary a little from maker to maker and not every batch shows every stage clearly, so treat the list as a map rather than a timetable. What matters is knowing what is normal, what needs a stir, and what the finished paste looks like.
Before the cook: the same lye safety rules as cold process
Hot process starts with exactly the same lye solution as cold process, so the same safety rules apply. Wear chemical resistant gloves, splash goggles and long sleeves, work with good ventilation, and always add the lye to the water, never water to the lye. Keep children and pets out of the room. The batter stays caustic until the cook is finished, and it is also hot, so the gloves and goggles stay on for the whole session, including every time you lift the lid to stir.
Use a slow cooker that is reserved for soap, and fill the crock no more than about half full. The batter expands as it heats, and a crock that starts too full is the usual cause of soap climbing over the rim.
Get the lye amount from a calculator, not from memory
Do not take a lye amount from memory or from a recipe you have not checked yourself. Enter your exact oils and weights into a lye calculator, pick a superfat, then weigh everything in grams on a digital scale. The lye needed for a given oil blend is the same whether you cook the soap or not, so a standard cold process calculator works for hot process too. Confirm the result with a second calculator before mixing.
Water is the one setting worth a second look. Many makers use the full water amount the calculator suggests for hot process instead of a water discount, because the cook drives water off and a batch that starts short on water turns stiff and hard to mold.
Stage 1: trace
With the oils melted in the crock and the lye solution stirred in, blend with a stick blender in short bursts until the batter reaches a medium trace: it looks like thin pudding and a drizzle sits on the surface for a moment before sinking in. Because there is no swirl work to protect, you do not need to stop at a thin trace the way you might for a cold process design. A fully emulsified batter is the goal, since a batter that is only partly mixed is more likely to separate badly once the heat is on.
Once you have trace, put the lid on and set the cooker to low. From here the job is mostly watching. Check every 10 to 15 minutes, and keep the lid on in between so the batch does not lose too much water.
Stages 2 and 3: bubbling edges and separation
The edges of the crock heat first. The outer ring of batter darkens slightly, turns a little translucent and starts to bubble, then slowly rolls in toward the paler, cooler center. Many makers call this the waves or the fold. It is the first sign that saponification has sped up, and it needs nothing from you except a gentle stir once the ring has moved a good way inward.
This is also the stage where the batter can puff up and rise quickly, often called a volcano. If it climbs toward the rim, stir it down right away, and lift the crock off the base for a minute if stirring is not enough. A long handled silicone spatula keeps your hands well clear of the hot batter.
Separation often follows or overlaps. Thin, oily looking liquid collects at the edges or in pockets and the mass can look curdled, as if the batch has failed. It has not. Stir the liquid back in and put the lid back on. Separation that keeps returning usually settles as the cook continues.
Stage 4: applesauce
After the separated liquid is stirred back in, the batter turns into a wet, grainy pulp that looks a lot like applesauce. It is softer and looser than the pudding you started with, with small translucent grains throughout. Some batches pass through this look in a few minutes and some sit in it for a while, especially large batches or cookers that run cool.
Give it a slow stir, scrape the sides and bottom so no batter sits against the hot crock for the whole cook, and replace the lid. Resist the urge to stir constantly. Each time the lid comes off the batch loses heat and moisture, which makes the cook longer and the finished paste stiffer.
Stage 5: mashed potatoes
Next the batter thickens and turns fluffy and opaque, like mashed potatoes. It holds peaks when you stir and looks drier than it did at the applesauce stage. This is the stage where most first batches get pulled too early, because the batter is thick, it is clearly no longer raw, and it looks like something that could go into a mold.
It is not finished yet. Opaque, whitish soap means part of the batch has not gone through gel. Look closely as you stir: you will usually see glossy, translucent areas spreading from the edges, mixed with paler opaque lumps. Keep cooking and stir every 10 minutes or so until the pale areas are gone.
Stage 6: vaseline, the stage that means done
The final stage is unmistakable once you have seen it. The whole batch becomes glossy, waxy and translucent, very much like petroleum jelly, and it pulls away from the sides in a smooth mass when stirred. There are no opaque white patches and no pools of liquid. That even, translucent look across the entire crock is the most reliable sign that the cook is done.
Two simple checks back up what you see. Take a small bit of paste, let it cool, and rub it between gloved fingers: finished soap feels waxy and smooth, not oily or gritty. You can also wet a cooled sample and touch it with a pH test strip. Finished handmade soap normally reads around 9 to 10. Strips are only a rough guide on soap, so use them to support the visual signs rather than replace them. You will also read about the traditional zap test, touching cooled soap to the tongue. Beginners are better served by the visual signs and a test strip.
If you plan to add fragrance, check the temperature first. Many makers let the paste cool for a few minutes, to around 160 to 180 degrees Fahrenheit, before stirring in fragrance or essential oil so less of the scent is driven off by the heat. Follow the usage rate given by the fragrance supplier.
After the cook: molding, cutting and drying
Cooked soap stiffens fast as it cools, so have the mold lined and within reach before the cook ends. Stir in any fragrance, colorant or extra oils, then spoon the paste into the mold in layers. Press each layer down with the spatula and tap the mold firmly on the counter several times to close air pockets. The top will be rustic and textured. That is normal for hot process and cannot be smoothed the way poured cold process batter can.
Hot process loaves are usually firm enough to unmold and cut after about 12 to 24 hours. Cut sooner rather than later, because the bars keep hardening and a loaf left for days can crumble under the cutter. The soap is fully saponified at this point, but it still holds extra water. Standing the bars on a rack with air around them for at least a week or two gives a harder bar that lasts longer in the shower, and many makers give them longer.
Troubleshooting a cook that goes off script
Soap rises and overflows: the crock was too full or the cooker runs hot. Stir down, lift the crock off the heat for a minute, and next time start with the crock no more than half full. Staying in the room for the first 30 minutes of the cook prevents most messes.
Paste is dry and crumbly before it turns translucent: too much water has evaporated, usually from frequent lid lifting or a long cook. Keep the lid on between checks. Starting with the full water amount from the calculator, rather than a water discount, also leaves more margin.
Batch stays opaque for a long time: some slow cookers barely warm on low, and large batches simply take longer. Keep the lid on, stir every 10 to 15 minutes, and judge by the look of the paste rather than the clock.
White lumps in the cut bars: these are usually bits that cooled and hardened on the sides of the crock, or parts of the batch that went into the mold before they reached the vaseline stage. Scrape the sides during every stir and wait for an even translucent look before molding.
Frequently asked questions
How long does hot process soap take to cook? In a slow cooker on low, many batches finish in about an hour, and a range of roughly 45 minutes to 2 hours is normal. Batch size, the starting temperature of the oils and how hot your cooker runs all change the time, so go by the translucent vaseline look, not the clock.
Do I have to see every stage? No. Small batches and hot cookers can move from trace to mashed potatoes with little visible separation or applesauce, and some batches blend two stages together. The only stage you must reach is the last one: an even, glossy, translucent paste with no opaque patches.
Can I use a regular lye calculator for hot process soap? Yes. The lye needed depends on the oils and their weights, not on the method, so the same calculator works for cold and hot process. Enter your own recipe, choose a superfat, and double check the result with a second calculator before you weigh anything.
Why add fragrance after the cook instead of at trace? By the end of the cook the lye has reacted with the oils, so fragrance stirred into the finished paste meets a milder environment than raw batter. Letting the paste cool a little first also means less scent is lost to heat.
Products from this article
The highest-scoring picks from the buying guides mentioned above. Scores are our editorial assessment, not customer ratings.
+ Stainless steel shaft handles caustic soap batter well
From our guide: Best Stick Blenders for Soap Making
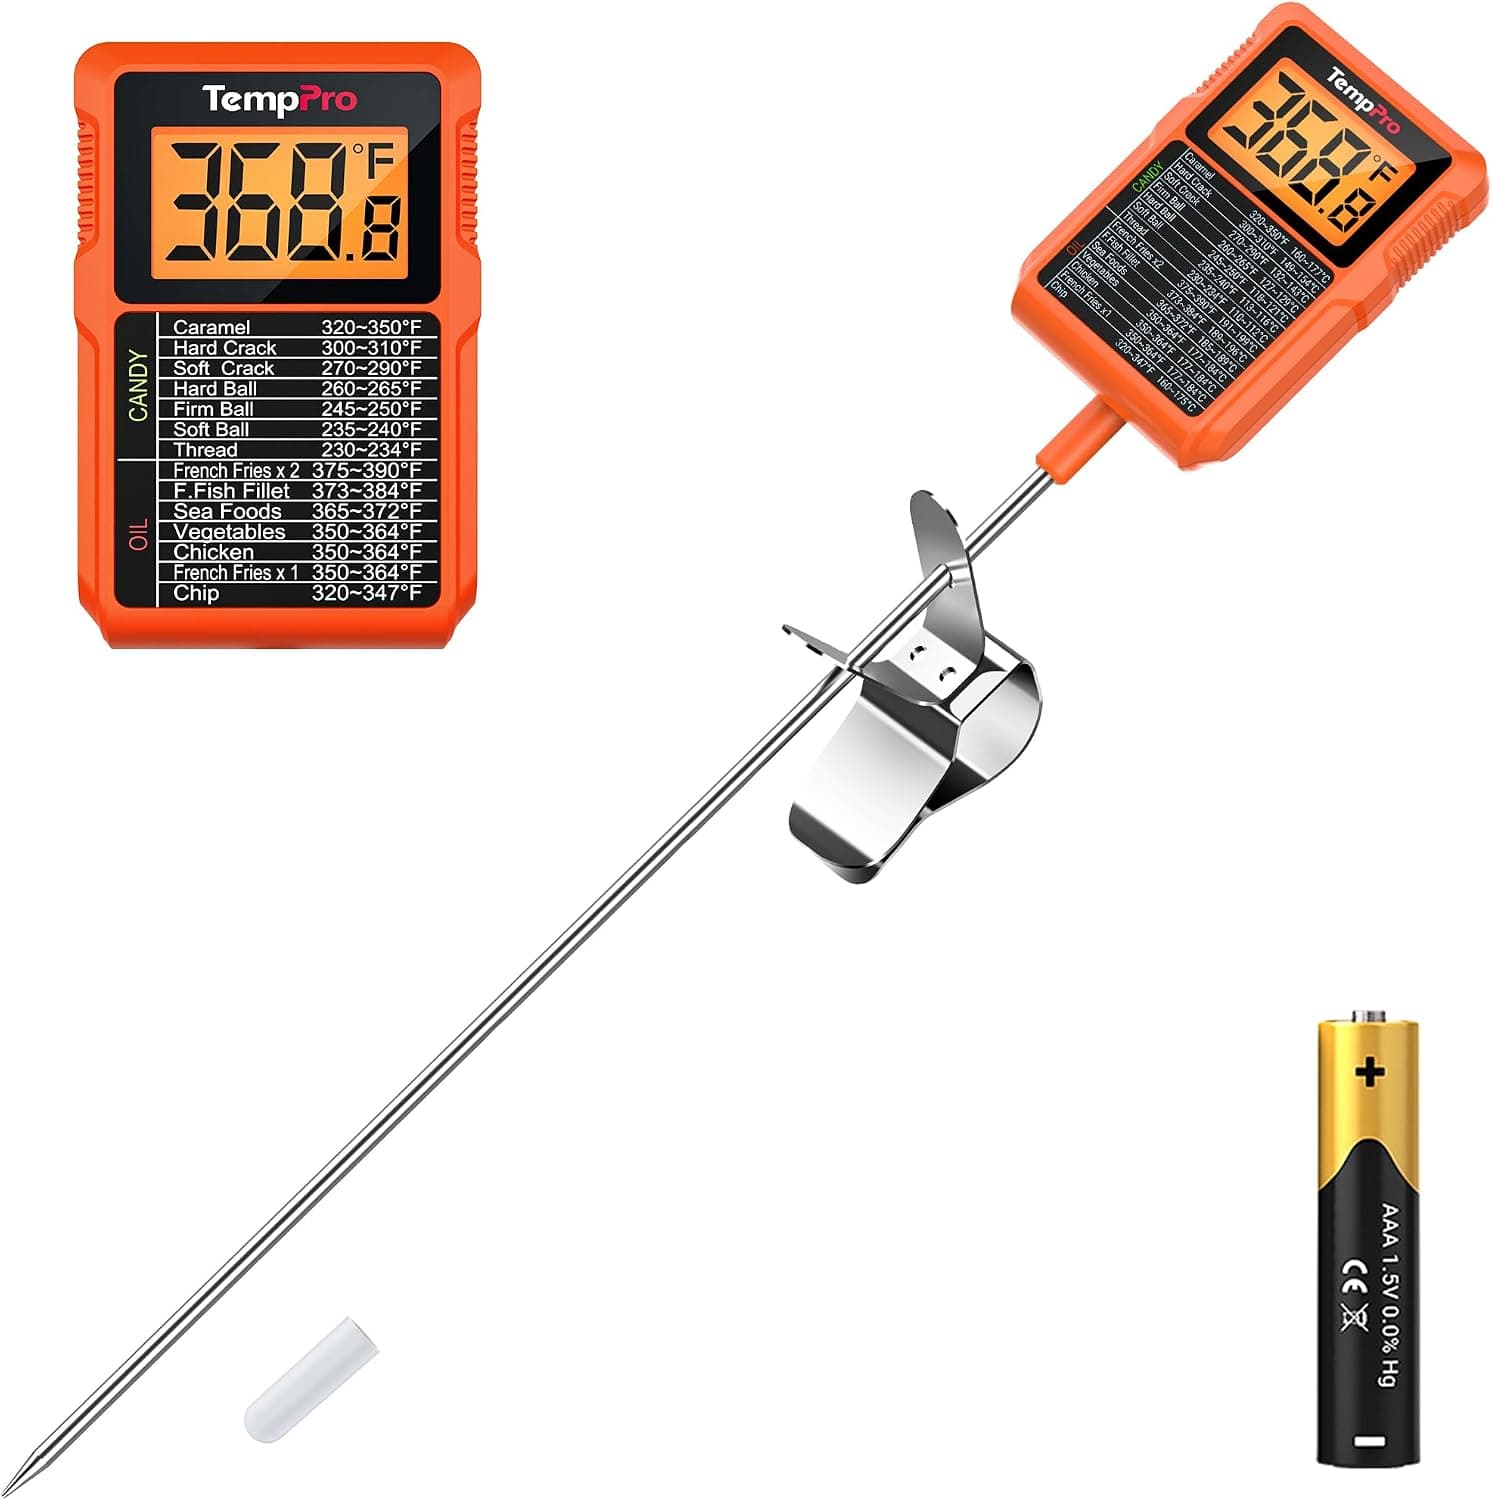
+ Rotating backlit display swivels about 90 degrees for easy reading from any angle
From our guide: Best Thermometers for Soap Making
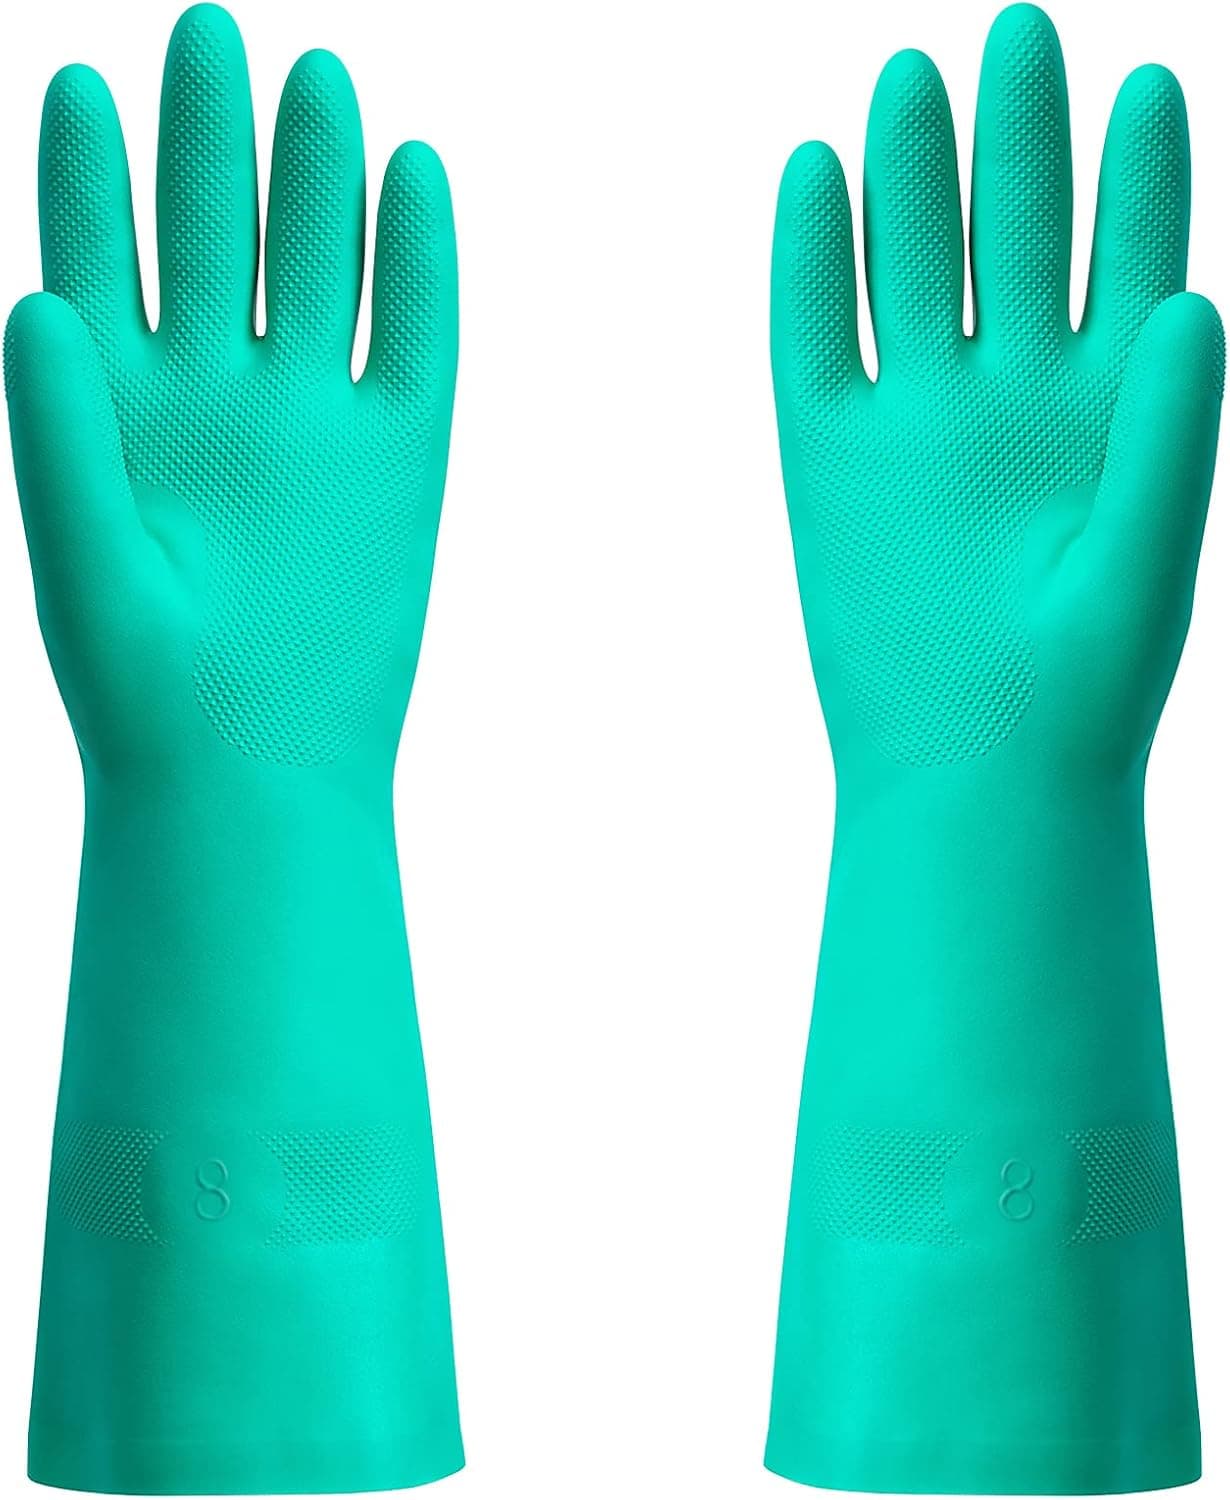
+ 15mil heavy duty nitrile gives strong protection from lye
From our guide: Best Safety Gloves and Goggles for Soap Making
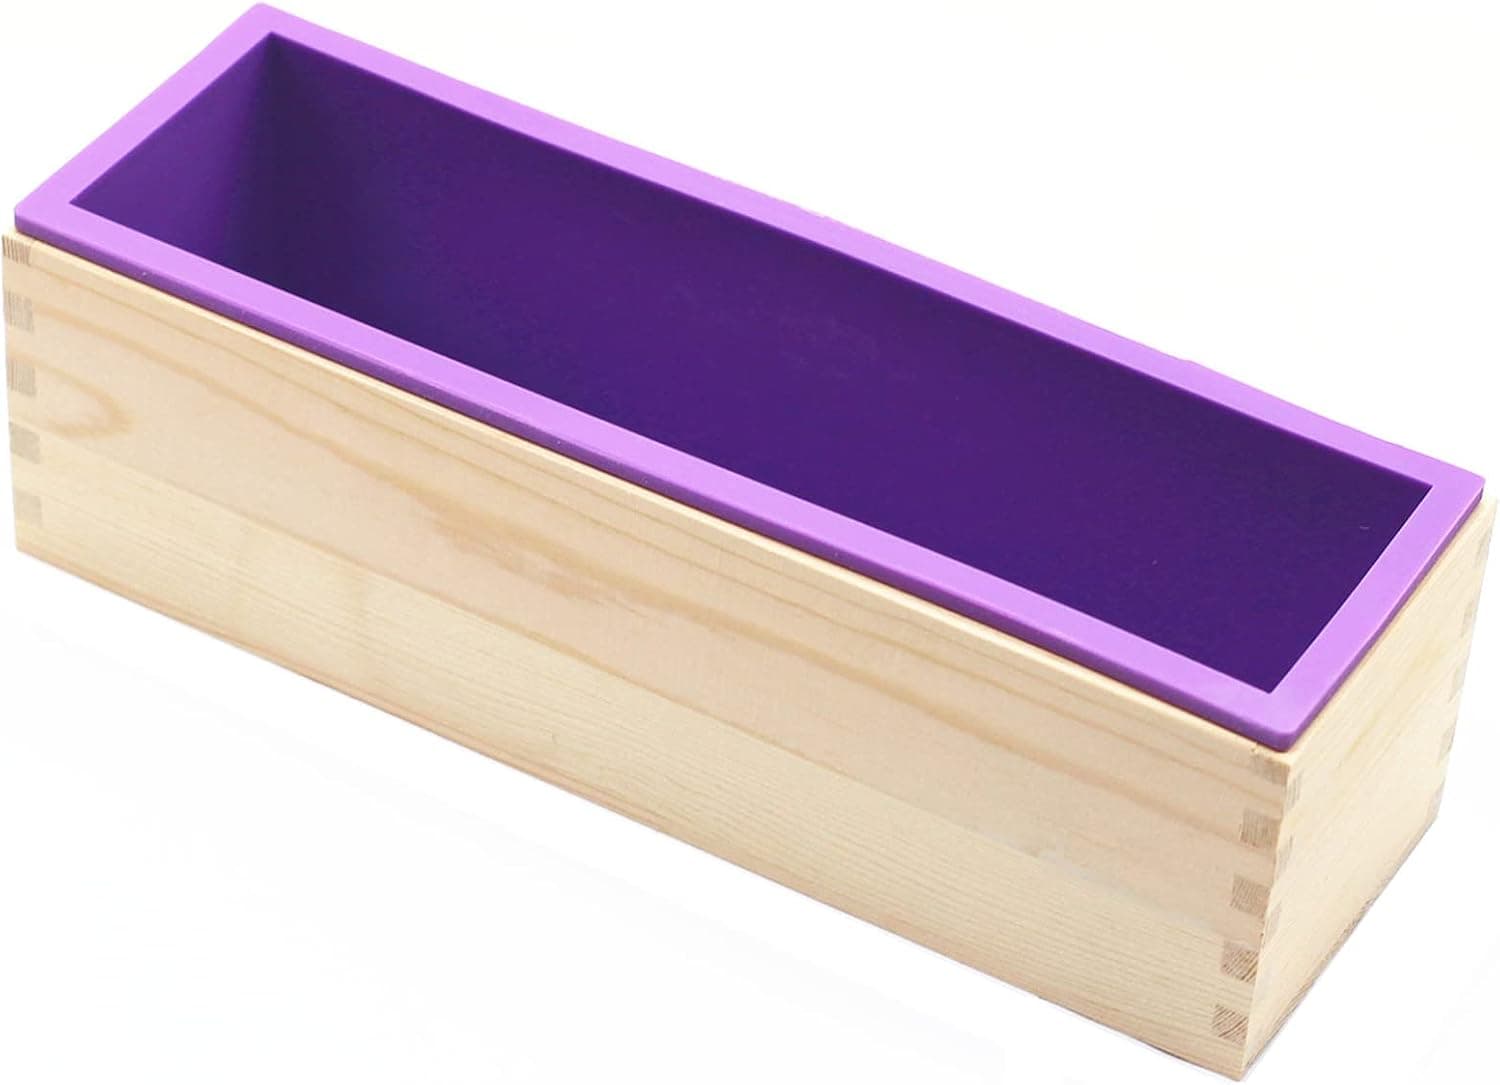
+ Wood box supports the silicone liner so the loaf keeps straight sides
From our guide: Best Loaf Soap Molds for Home Soap Makers

Popular right now
- Palm-Free Soap RecipesArticle
- How to Use a Soap MoldArticle
- Best Melt and Pour Soap BaseBuying guide
- Embedding Objects in SoapArticle
- Best Shea Butter for Soap MakingBuying guide
- Best Digital Scales for Soap MakingBuying guide
Based on the last 28 days of search and visitor data.