How to Use a Soap Mold
Published How we research
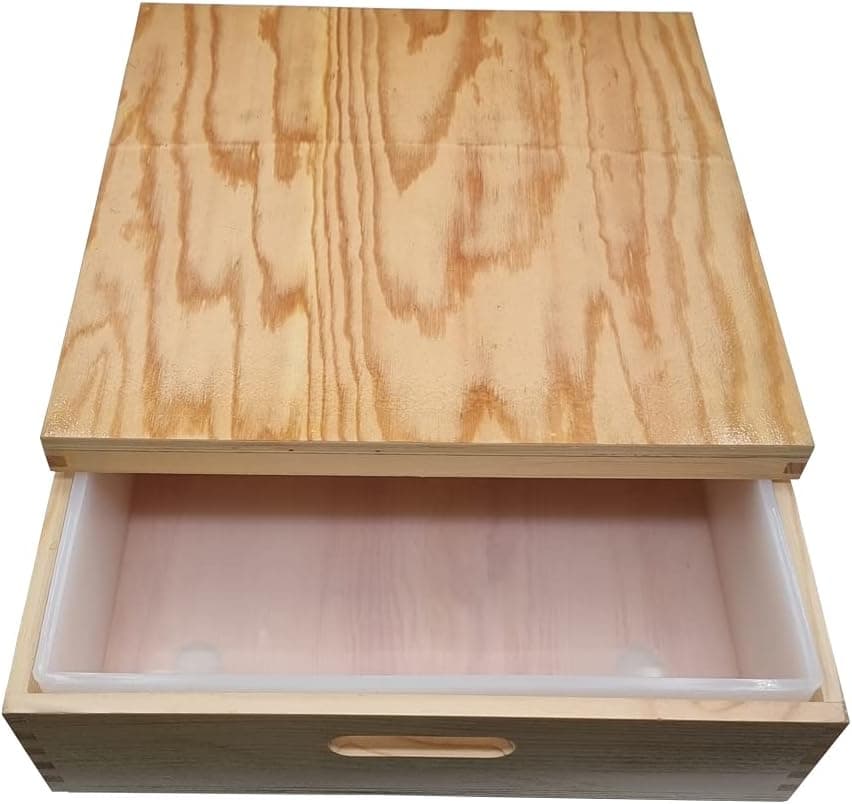
A soap mold is where your liquid soap batter becomes a solid, usable bar, so choosing and using one well has a big impact on your finished product. Molds come in many shapes and materials, and each behaves a little differently. Understanding those differences helps you avoid stuck bars, uneven tops, and other small frustrations that can spoil an otherwise perfect batch.
Products from this article
The highest-scoring picks from the buying guides this article links to. Scores are our editorial assessment, not customer ratings.
+ Wooden mold with cover provides good insulation for gel phase
From our guide: Best Wooden Soap Molds for Cold Process Bars
+ Wood box supports the silicone liner so the loaf keeps straight sides
From our guide: Best Soap Mold Liners for Clean Release
+ Walfos silicone is thick enough to hold shape when filled
From our guide: Best Silicone Soap Molds
+ 160 oz capacity yields about 30 bars of 2.5 x 1 x 4 inches, suited to large batches and small soap businesses
From our guide: Best Wooden Soap Molds for Cold Process Bars
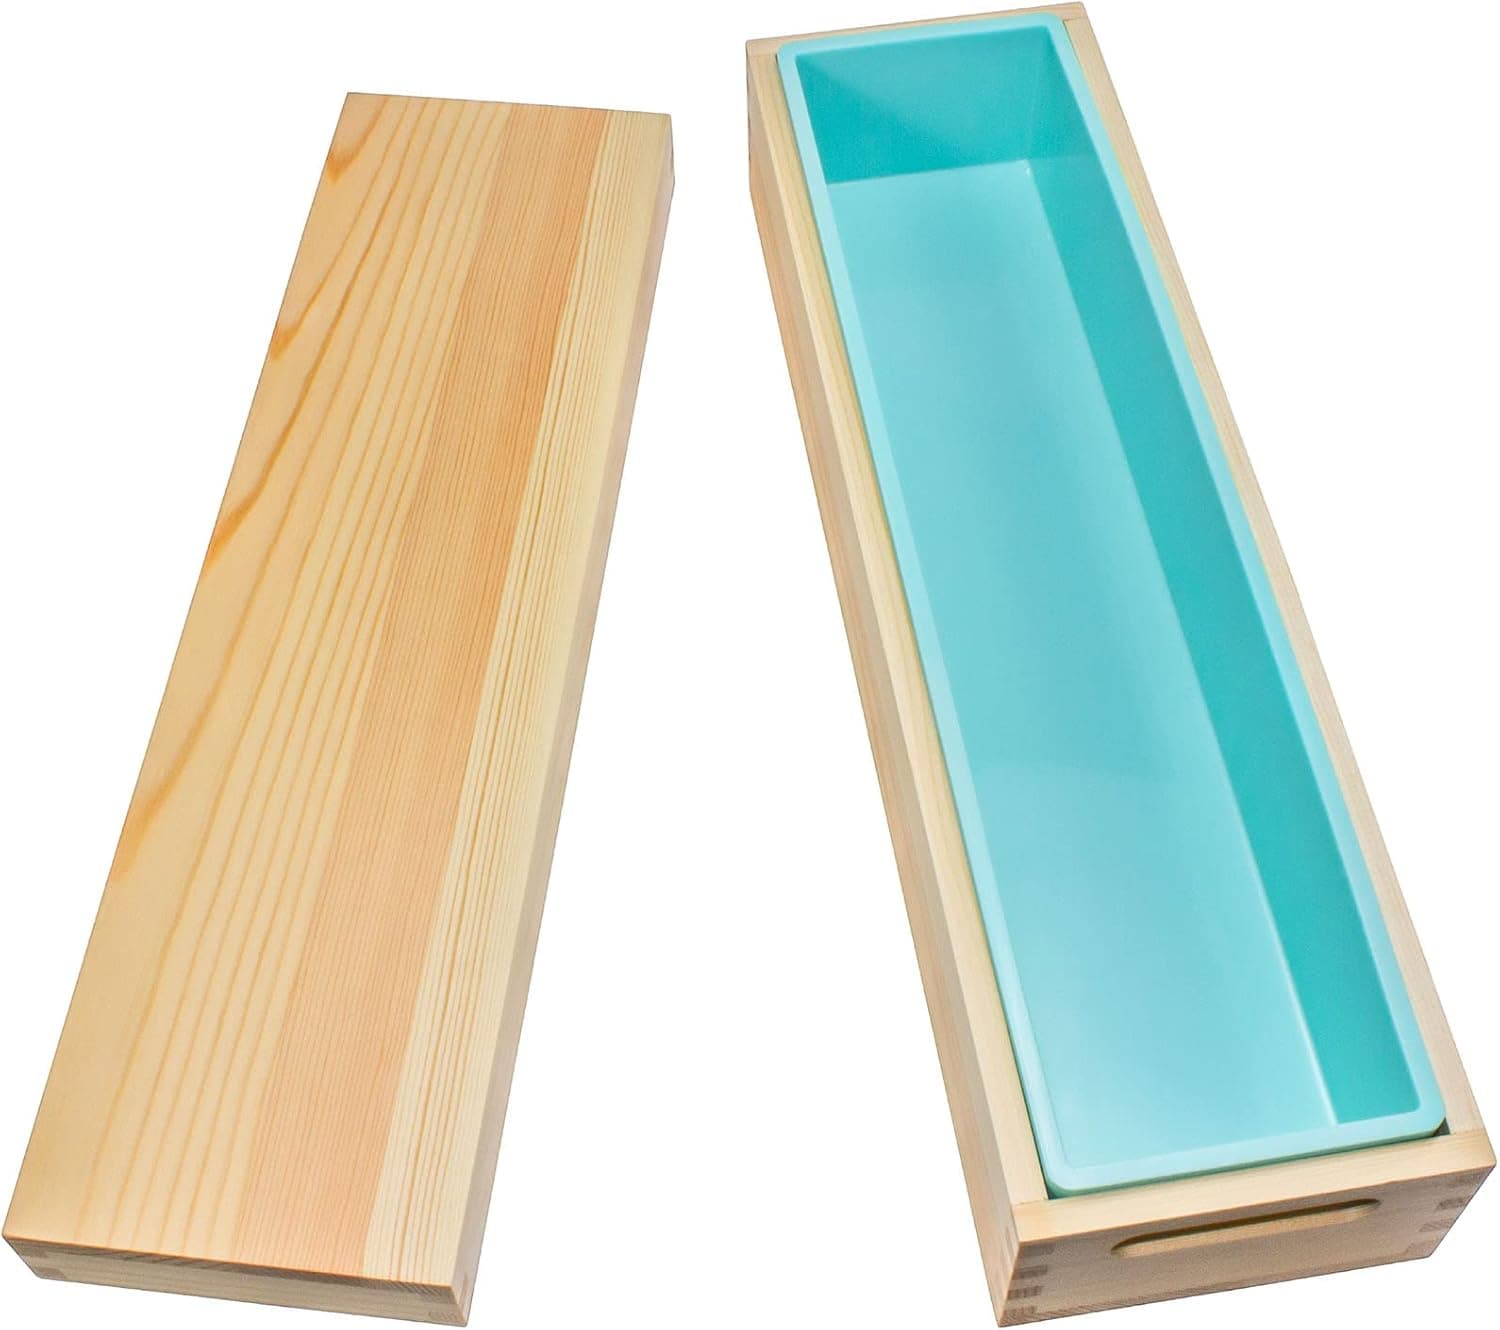
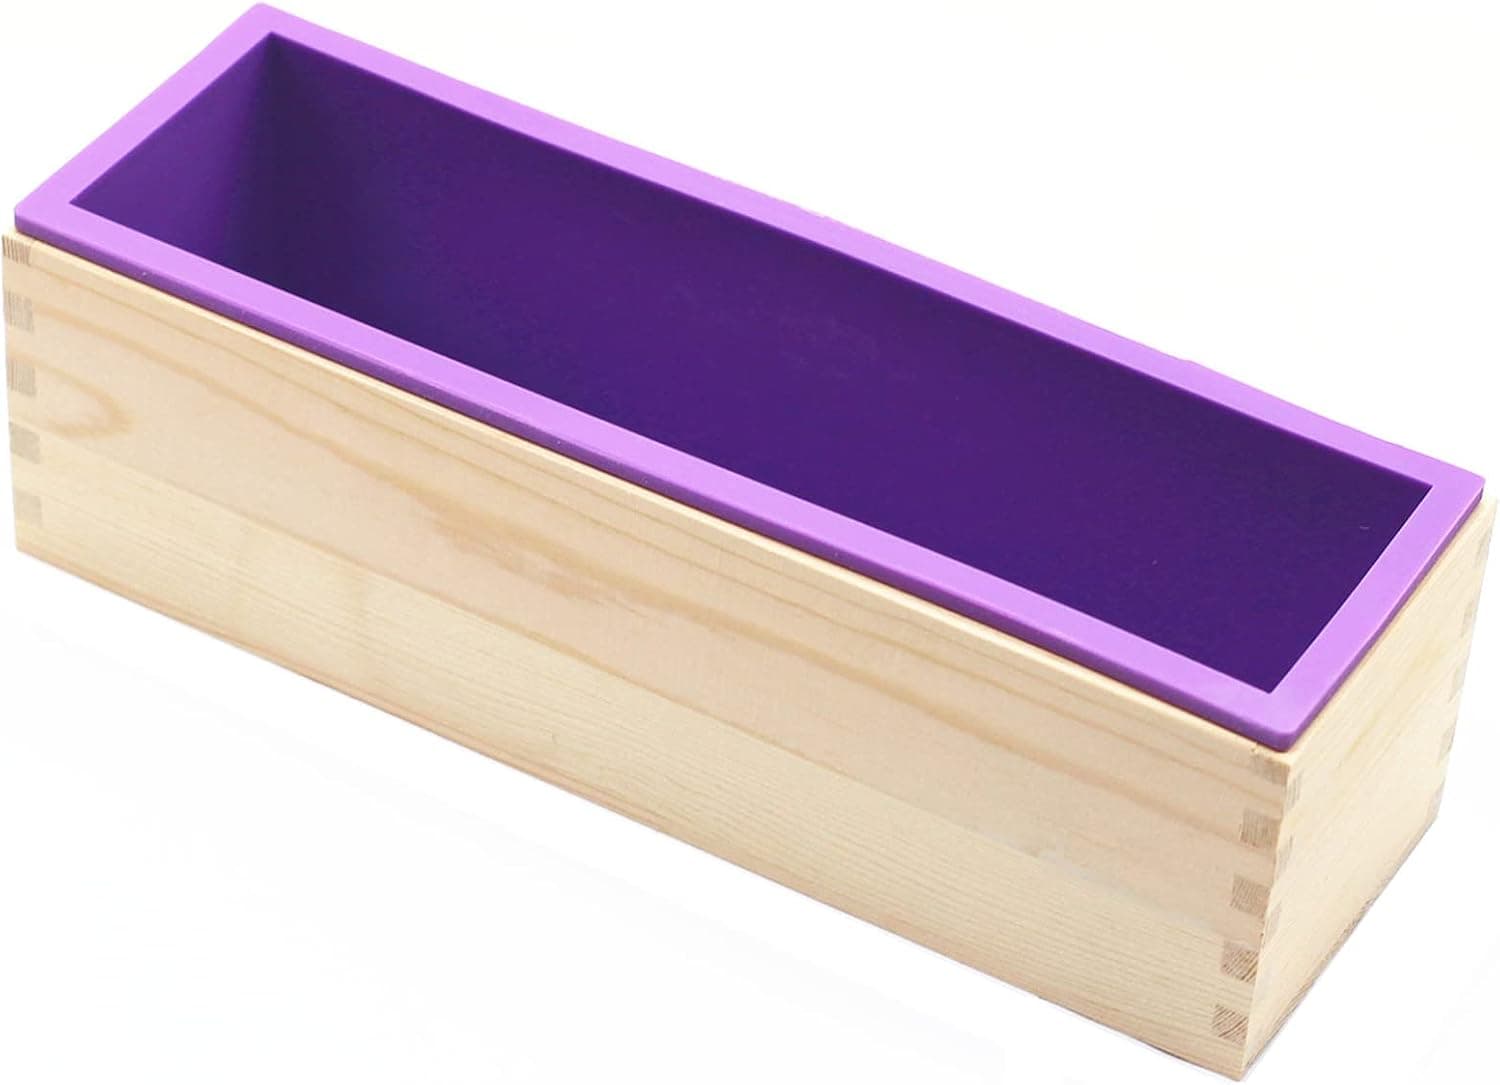
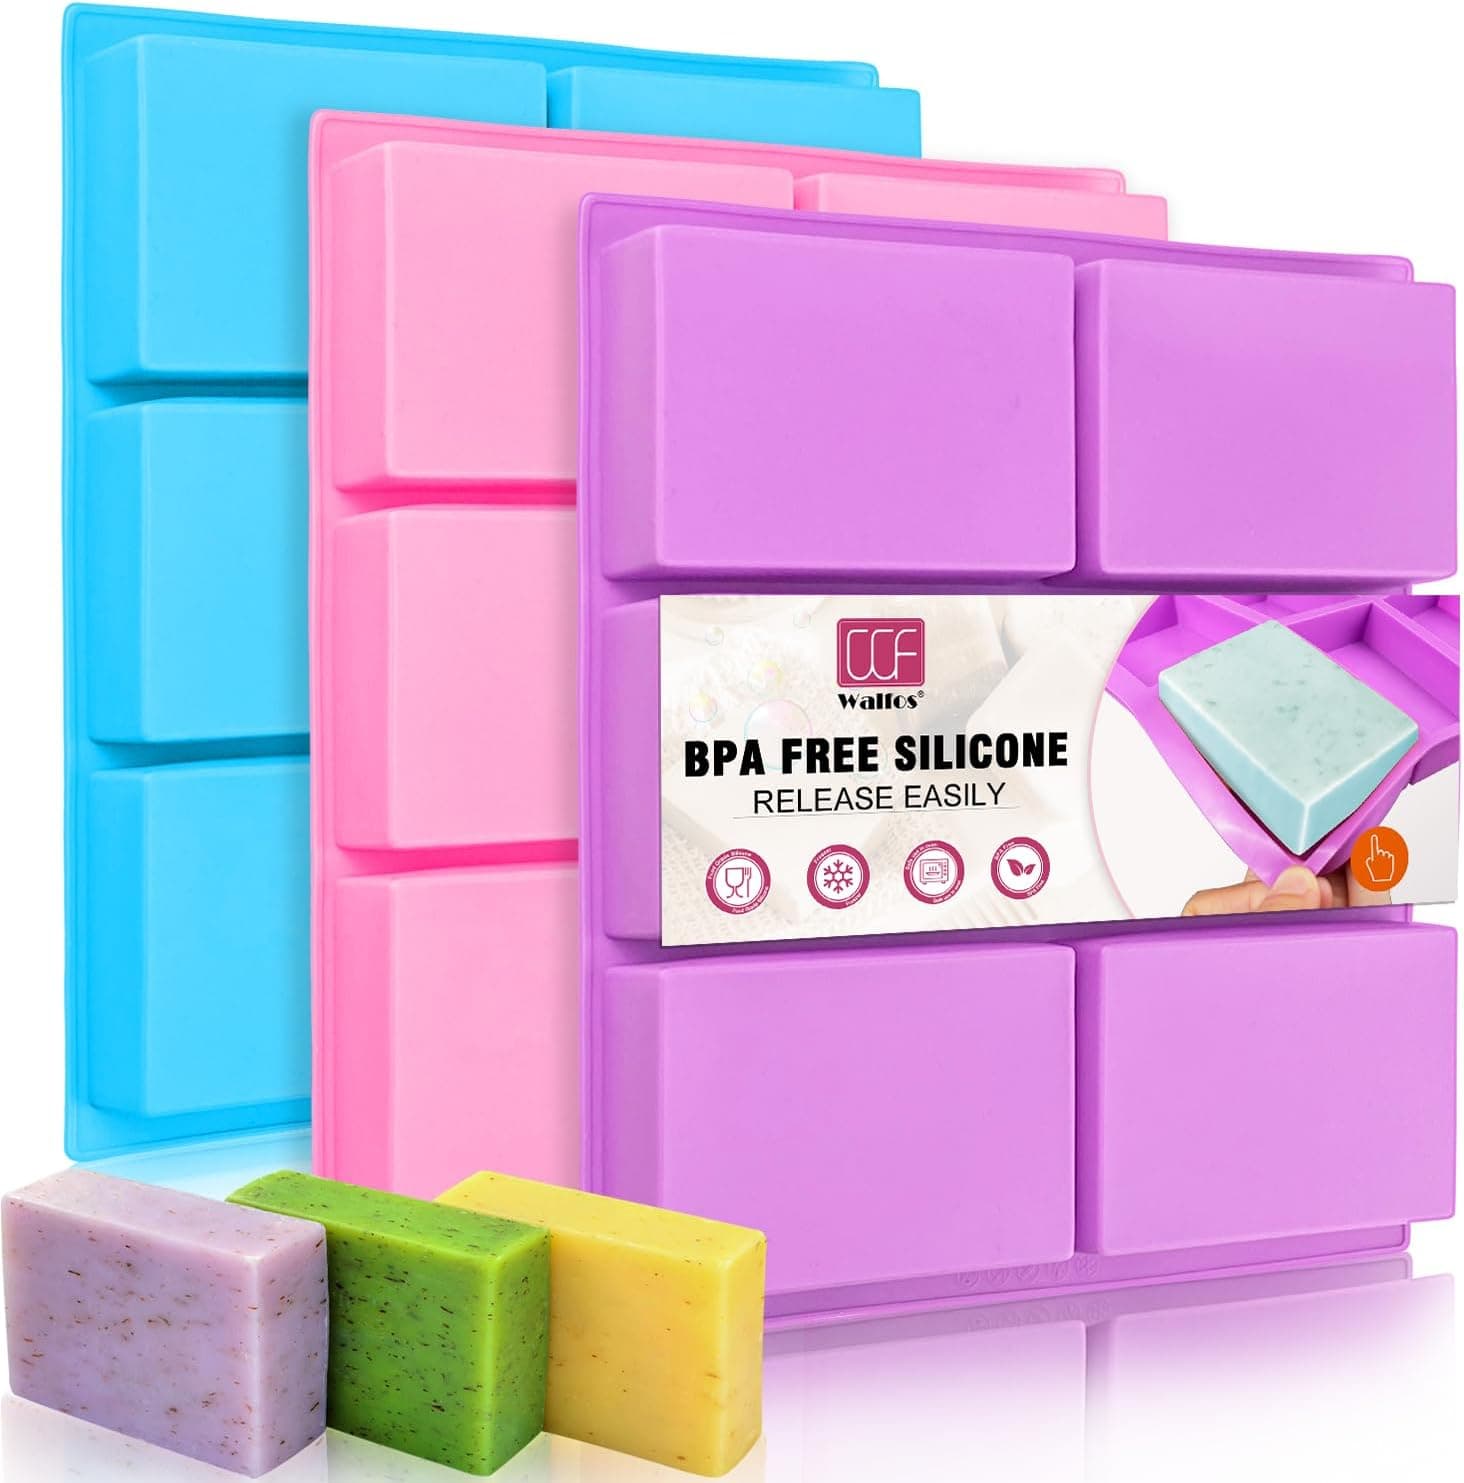
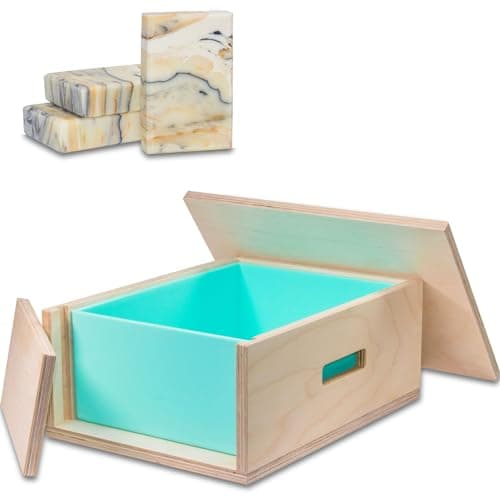
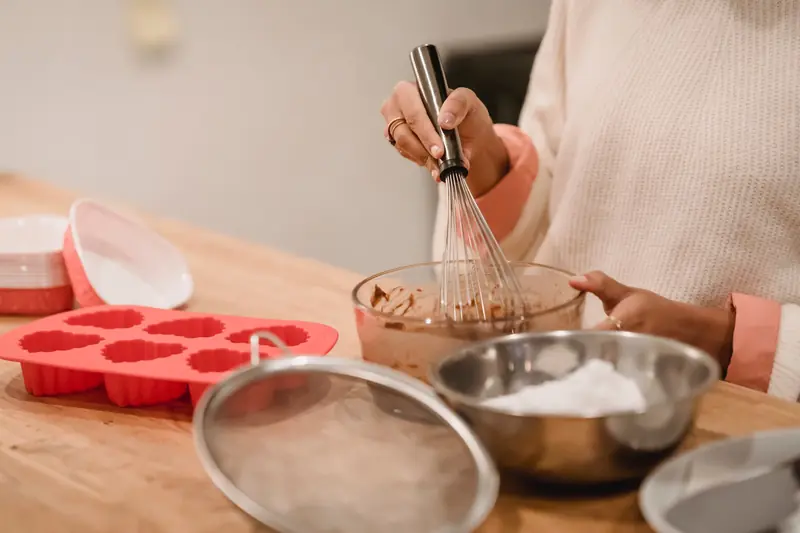
Silicone molds are the most popular choice for good reason. They are flexible, which makes releasing bars easy, and they come in endless shapes from simple rectangles to intricate botanical designs. The main drawback is that silicone insulates poorly and stays flexible, so loaf-style silicone molds often benefit from a supporting box or cardboard sleeve to keep their walls straight while the soap sets. Individual cavity molds, by contrast, need no lining and pop out cleanly.
Wooden molds are a classic for cold process loaves. They hold heat well, which encourages the gel phase that produces vivid colors and a smooth texture. Because raw soap would soak into and cling to bare wood, wooden molds must be lined with freezer paper or a fitted silicone liner before every use. Once lined, they provide sturdy, straight sides that make professional-looking loaves easy to achieve.
Rigid plastic molds sit somewhere in between. They are affordable and produce crisp shapes, but their inflexibility can make unmolding tricky. Soap needs to firm up fully, and a short stint in the freezer usually helps the bar contract slightly and release. Avoid forcing a stuck bar, since bending a rigid mold too hard can crack both the mold and the soap.
Before pouring, make sure your mold is clean, dry, and positioned on a level surface. Pour your batter steadily to avoid trapping air bubbles, and tap the filled mold gently on the counter to release any that formed. If you are making melt and pour soap, spritz the surface with rubbing alcohol immediately after pouring to pop surface bubbles and to help layers bond if you plan to add more.
Patience is essential when it comes time to unmold. Cold process soap generally needs one to three days to firm up enough to release cleanly, while melt and pour is ready in an hour or two. If a bar resists, wait longer rather than pulling harder. Chilling the mold briefly firms the soap and shrinks it just enough to slip free without tearing the edges or leaving residue behind.
With a little experience you will develop a feel for which molds suit which projects. Reach for detailed silicone cavities when you want decorative single bars, sturdy lined loaves when you plan to swirl and slice, and simple shapes when you are testing a new recipe. Treat your molds well, keep them clean, and they will serve you through many happy batches of homemade soap.
Cleaning your molds properly extends their life and keeps your soap looking its best. Silicone molds should be washed gently with warm soapy water and dried fully before storage, since trapped moisture can encourage residue buildup. Avoid harsh scrubbing that scratches the surface and leaves marks on future bars. Store molds flat and out of direct sunlight so they keep their shape, and inspect them for tears before each use. A small collection of well-maintained molds in a few shapes and sizes is far more useful than a drawer full of neglected ones.
Popular right now
- Best Melt and Pour Soap BaseBuying guide
- Best Shea Butter for Soap MakingBuying guide
- Choosing Fragrance Oils for SoapArticle
- Embedding Objects in SoapArticle
- Best Natural Soap Colorants From Clays and BotanicalsBuying guide
- Shelf Life of SoapArticle
Based on the last 28 days of search and visitor data.