How to Cut Soap Bars
Published How we research
The ideal cutting window is usually one to three days after pouring, when the loaf is firm but still slightly soft like firm cheese. A smooth, non-serrated blade works, but a wire cutter gives exceptionally smooth faces on softer soap, and a miter box or cutting guide ensures uniform bar widths. Cut with a single smooth stroke rather than sawing, and wipe the blade clean between cuts. Crumbling usually means the soap is too dry; soda ash can be steamed or planed away. Finish by beveling edges and racking bars with airflow to begin curing. Cutting a cured or freshly set loaf into bars is a deceptively important step. Uneven, crumbly, or dragging cuts can undermine an otherwise gorgeous batch, while clean, uniform slices give your soap a professional, market-ready appearance. Learning to cut well involves getting the timing right, choosing suitable tools, and using proper technique to avoid the common problems that spoil a good loaf.
Products from this article
The highest-scoring picks from the buying guides this article links to. Scores are our editorial assessment, not customer ratings.
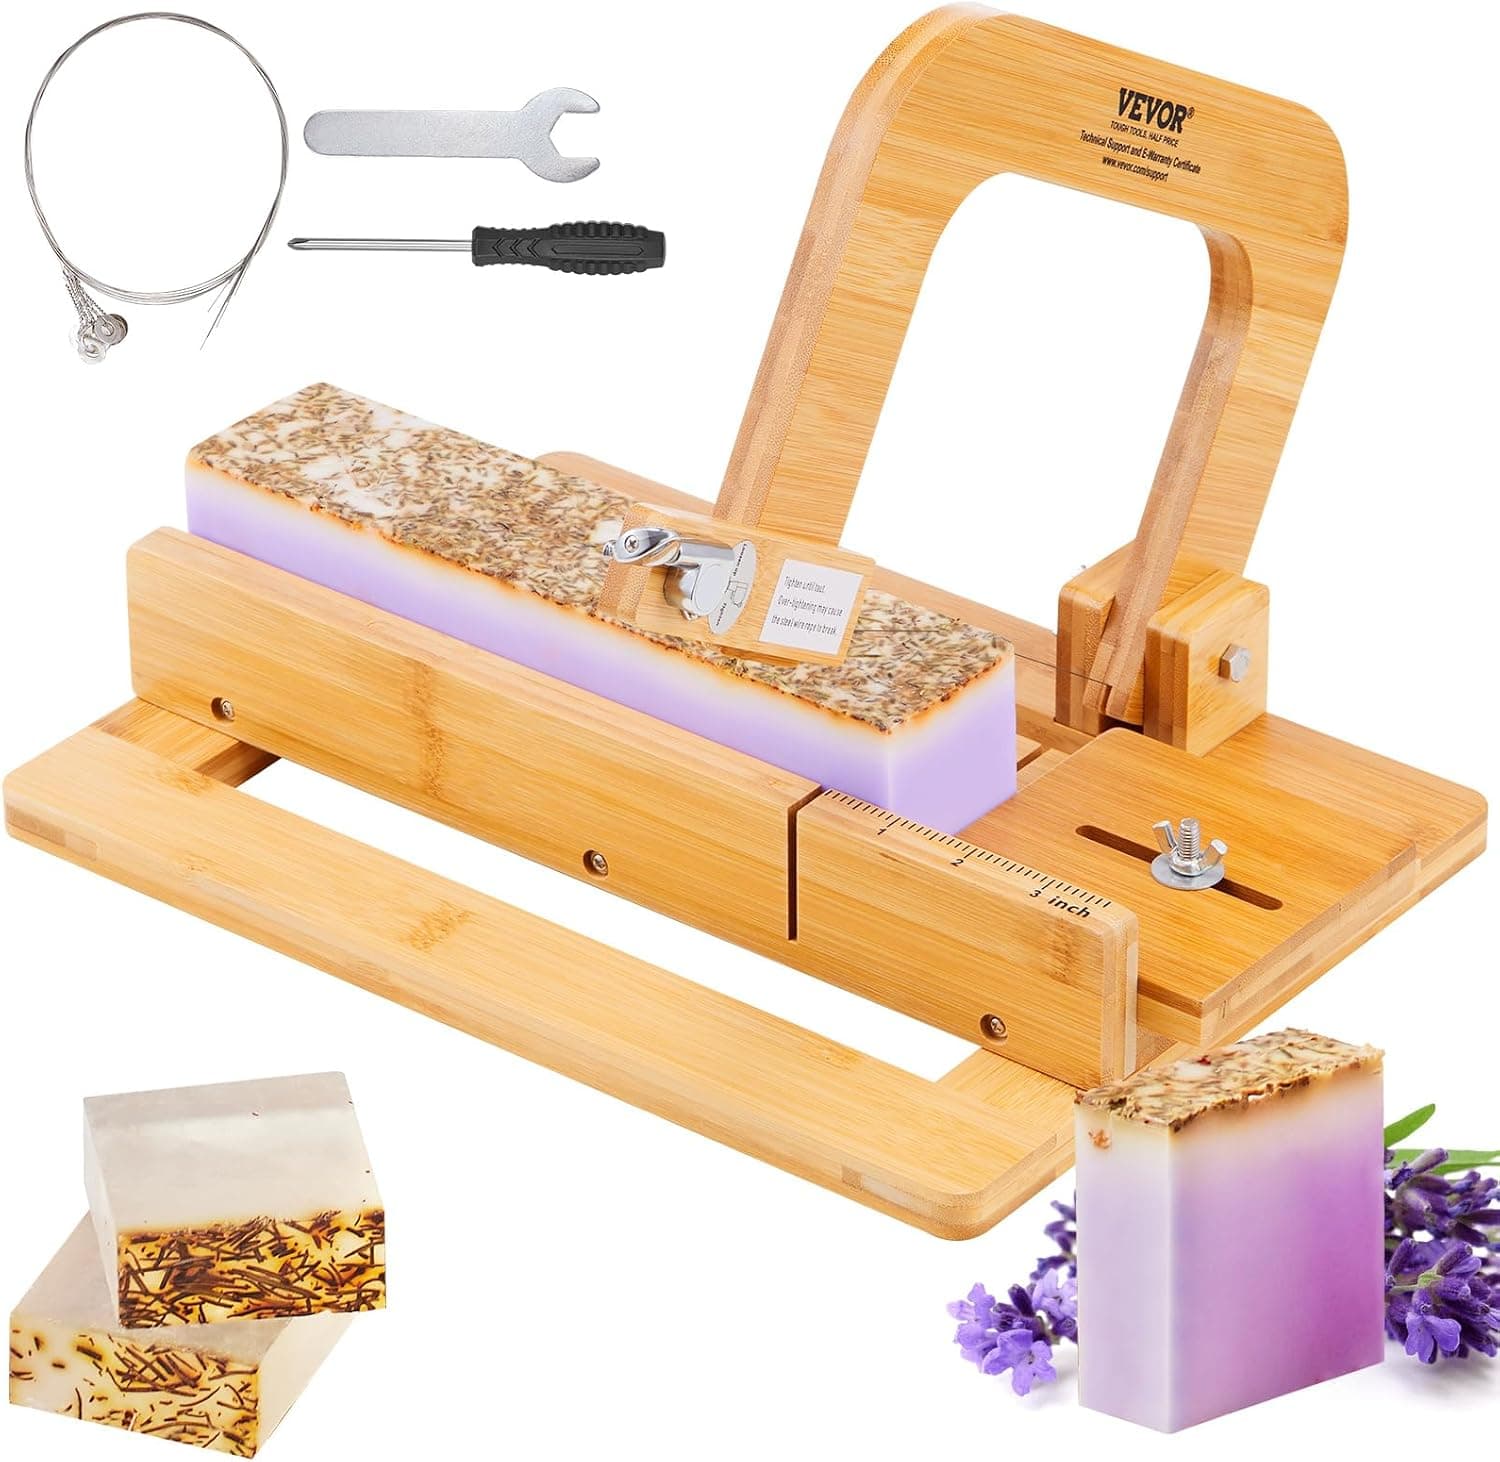
+ 0-2 inch adjustment covers thin guest bars to thick chunks
From our guide: Best Soap Cutters for Even Handmade Bars
+ 10 Replacement Wires mean a snapped wire will not stop production
From our guide: Best Soap Loaf Cutters for Uniform Slicing
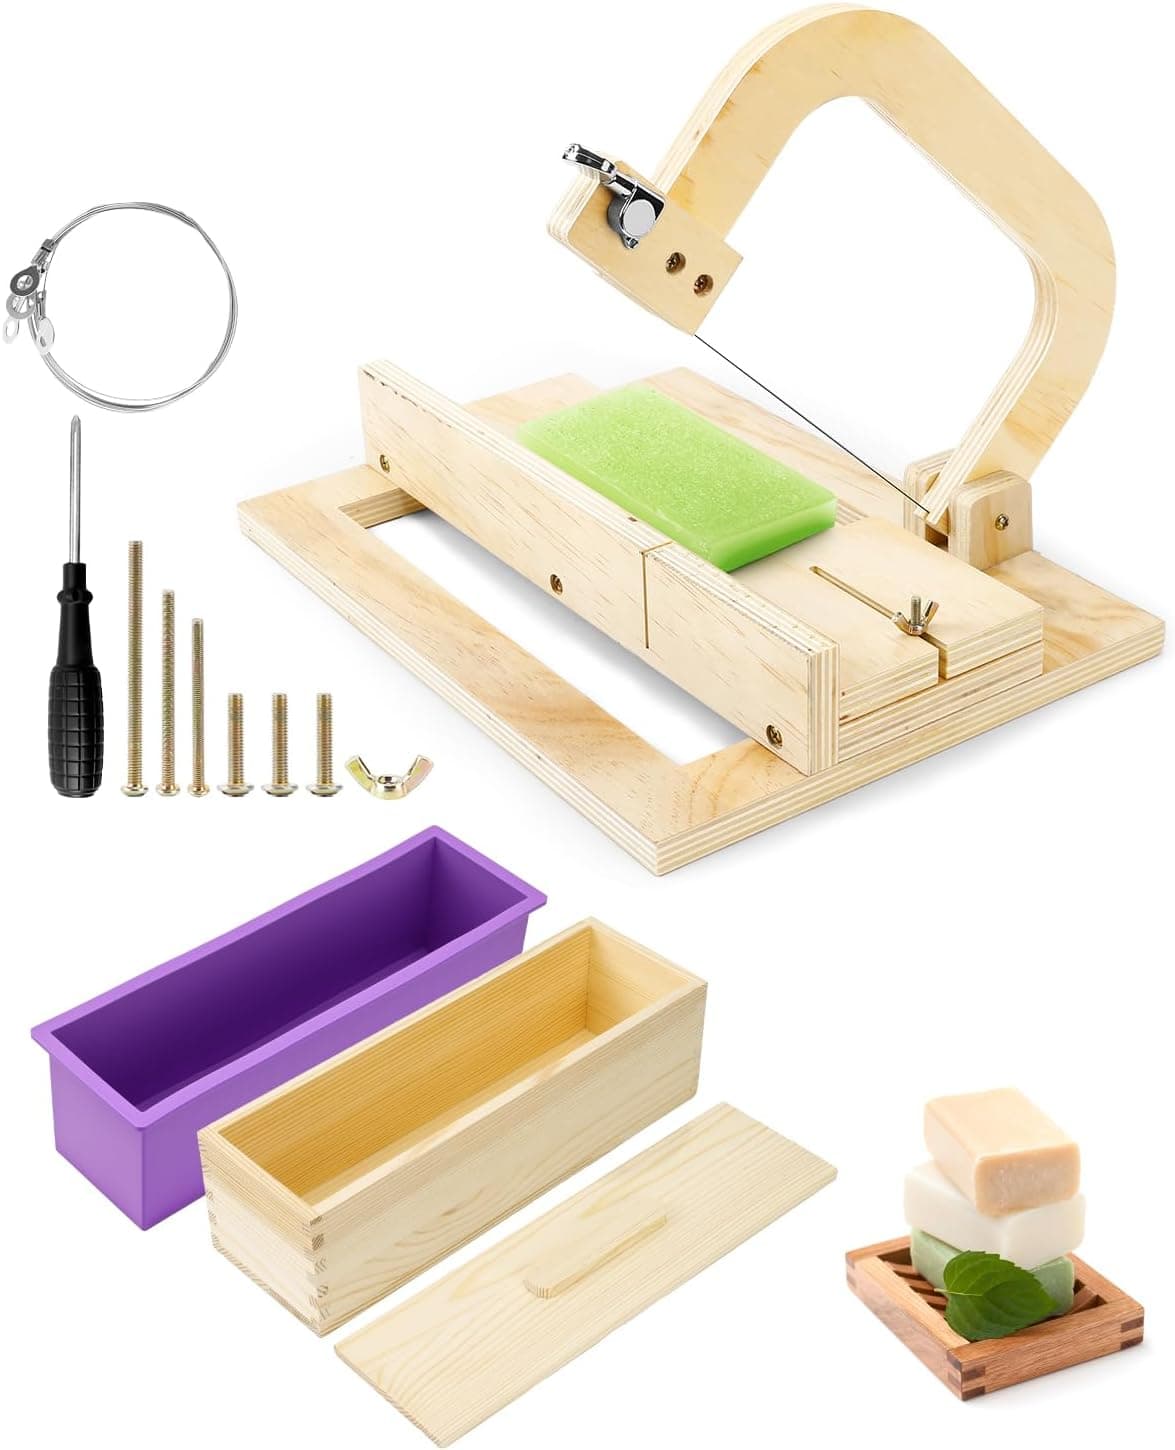
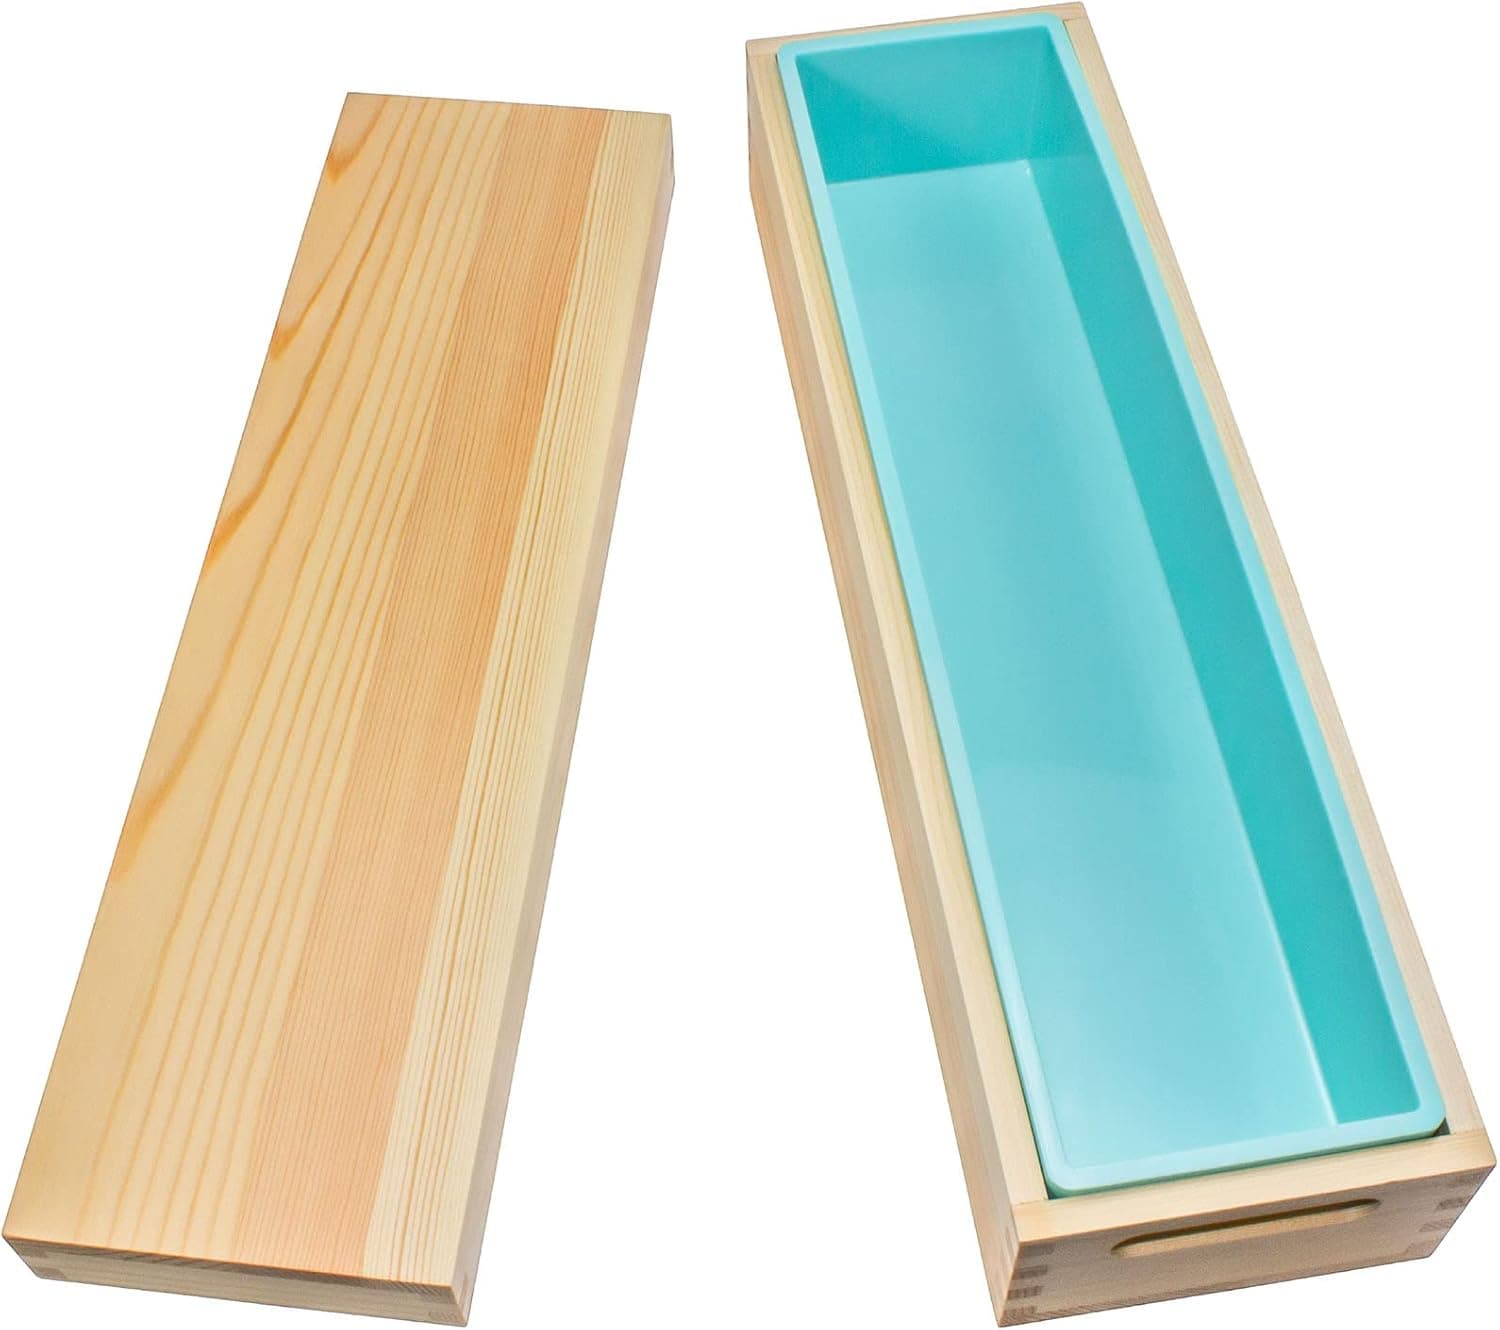
+ Wooden mold with cover provides good insulation for gel phase
From our guide: Best Wooden Soap Molds for Cold Process Bars
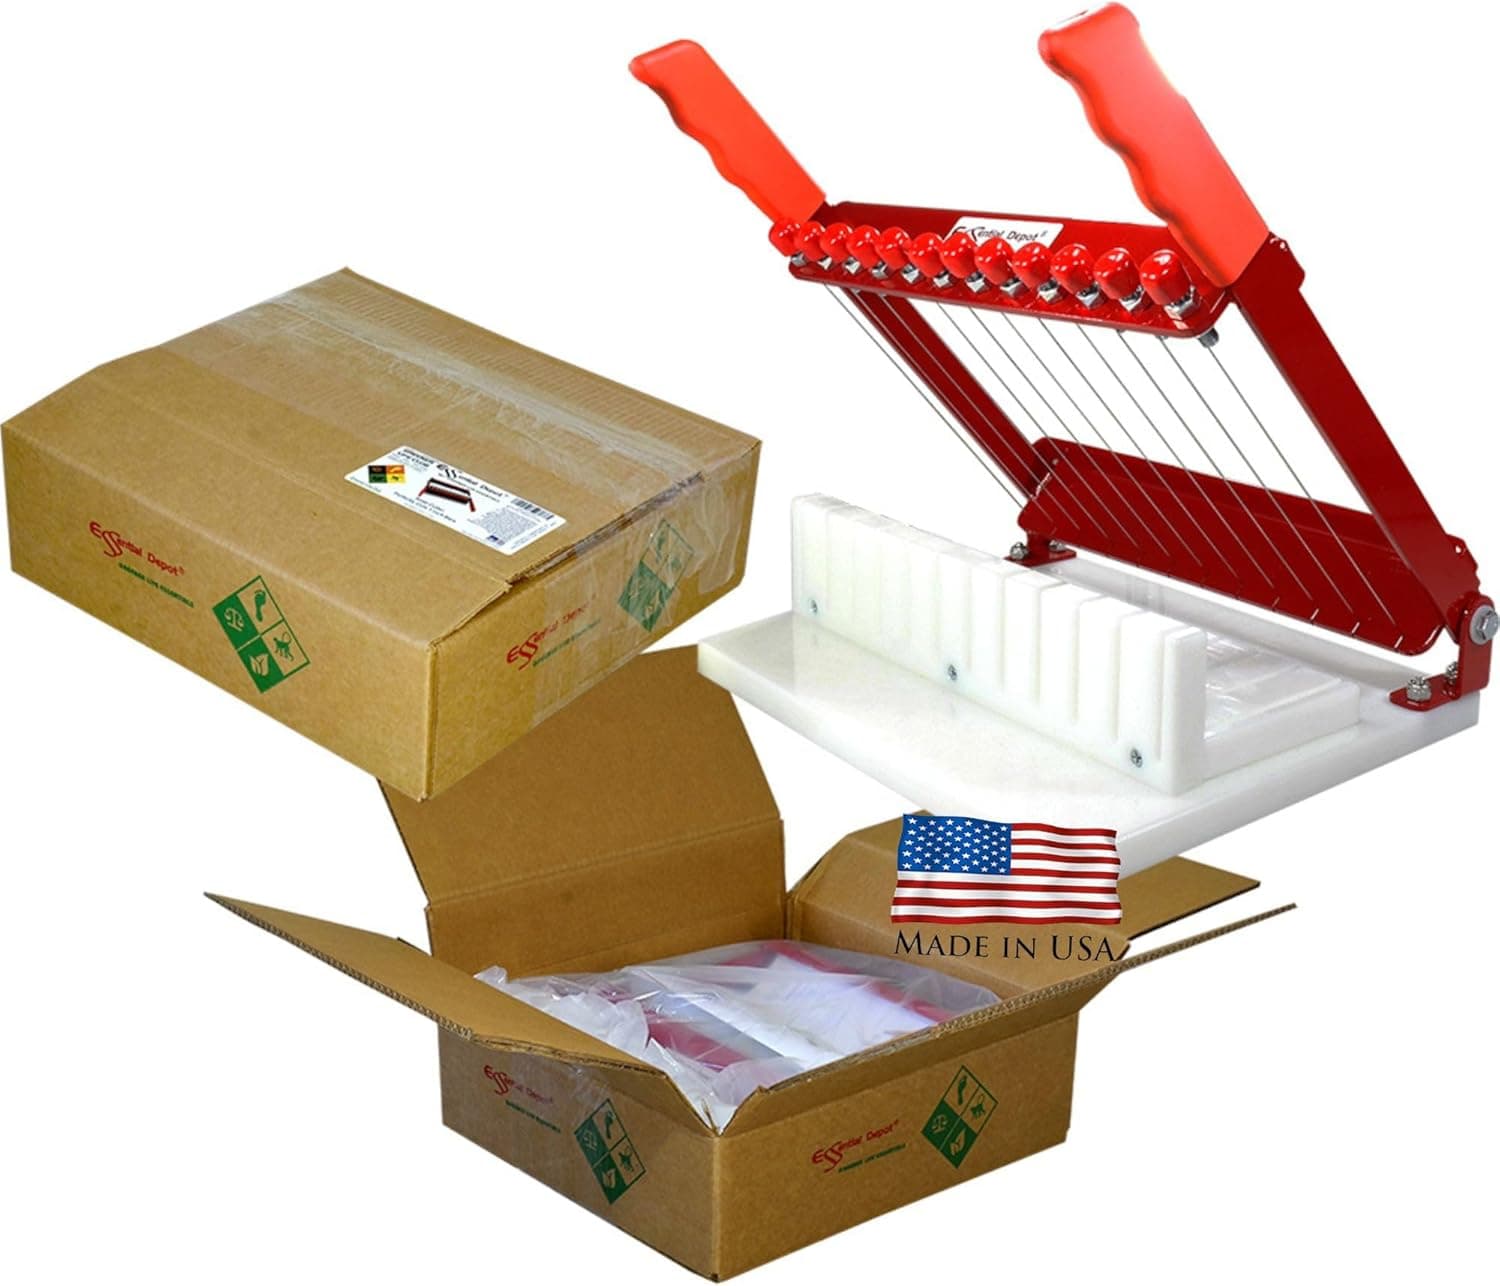
+ R.E.D. cutter is designed specifically for even soap bar slicing
From our guide: Best Soap Cutters for Even Handmade Bars
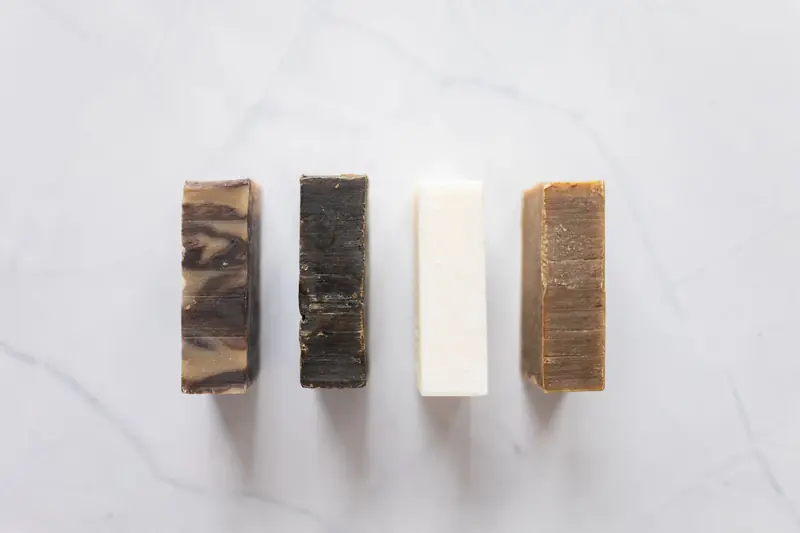
Timing is the first thing to master
Timing is the first thing to master. Cut cold process soap too soon and it smears, sticks, and distorts; cut it too late and it becomes hard and brittle, prone to crumbling and cracking. The ideal window is usually one to three days after pouring, when the loaf is firm enough to hold its shape but still slightly soft, similar to firm cheese. This sweet spot gives smooth faces and clean edges with minimal effort.
Your choice of cutter shapes the result
Your choice of cutter shapes the result. A simple sharp knife or a dedicated straight blade works fine, especially a smooth, non-serrated blade that slices rather than saws. Serrated knives can leave drag marks and ragged edges. Many makers upgrade to a wire cutter, which pulls a taut wire through the loaf for exceptionally smooth, even faces. Wire cutters excel with softer soap and reduce the drag lines that knives sometimes create.
A miter box or cutting guide ensures consistency
For consistency, a miter box or a multi-bar cutting guide is invaluable. These jigs hold the loaf and space the cuts evenly, so every bar comes out the same width. Uniform bars look far more professional and, if you sell soap, ensure consistent weight and pricing. Even a simple homemade guide with marked increments beats eyeballing each slice and hoping for the best.
Technique matters as much as tools
Technique matters as much as tools. Cut with a single smooth, steady stroke rather than a sawing motion, letting the blade or wire do the work. Keep the loaf on a stable, non-slip surface, and if you are using a knife, press straight down and through rather than dragging. Wiping the blade clean between cuts prevents buildup that can smear the next face. A confident, deliberate motion produces the cleanest results.
Certain conditions cause specific problems
Certain conditions cause specific problems. Soap that crumbles or cracks as you cut is often too dry or contains too much hard fat or additives; cutting a bit earlier next time usually helps. Soda ash, a harmless white film, sometimes appears on cut faces and can be steamed or planed away for a polished look. Dense additives like large botanical pieces can create drag or tear-out, so anticipate them and cut slowly through those spots.
Refine the bars after cutting
After cutting, you can refine the bars further. Beveling the edges with a planer or peeler gives a soft, finished profile and removes minor imperfections. Some makers stamp their bars at cutting time while the soap is still receptive to an impression. However you finish them, place the cut bars on a rack with airflow to begin their cure. Clean, even cutting is a small skill that makes a big difference in how your soap is perceived.
Frequently asked questions
When is the best time to cut cold process soap? Usually one to three days after pouring, when the loaf is firm enough to hold its shape but still slightly soft, similar to firm cheese, giving smooth faces and clean edges.
Should I use a knife or a wire cutter for soap? A smooth, non-serrated knife works fine, but a wire cutter pulls a taut wire through the loaf for exceptionally smooth, even faces and excels with softer soap, reducing drag lines.
Why does my soap crumble or crack when I cut it? It is often too dry or contains too much hard fat or additives; cutting the loaf a bit earlier in its firming window next time usually helps.
What causes drag lines when cutting soap bars? A serrated knife or a sawing motion instead of a single smooth stroke; letting the blade or wire do the work with steady pressure produces cleaner faces.
Popular right now
- Best Melt and Pour Soap BaseBuying guide
- Best Shea Butter for Soap MakingBuying guide
- Choosing Fragrance Oils for SoapArticle
- Embedding Objects in SoapArticle
- Best Natural Soap Colorants From Clays and BotanicalsBuying guide
- How to Use a Soap MoldArticle
Based on the last 28 days of search and visitor data.